Mining, refining and selling: a belt prospector's guide
· The Starlane team · 6 min read
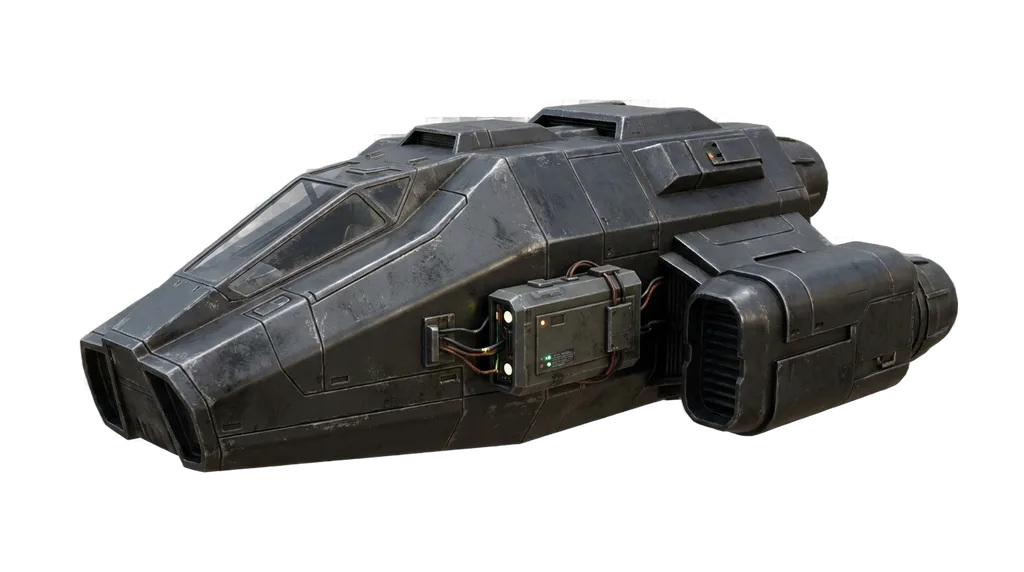
Mining in Starlane is a career, not a button. You need a licence and a laser, a rock worth cutting, and somewhere that wants what comes out of it. This guide walks the whole loop, from your first permit to the top of the extraction ladder.
1. Get the permit
Working a belt needs a Prospector's Permit. It's the first rung of the extraction career: 3,500 credits, and you need Prospecting 1. Prospecting trains on a real-world clock, for free, from your skills page. Nothing can make it train faster.
The permit isn't taught in Sol. It's one jump out, so finding the academy that teaches it is your first job as a prospector.
If you chose the Belt Prospector origin, skip this step: you start with Prospecting and the permit already in hand.
2. Get a laser on a hull
A permit doesn't cut rock; a laser does. Three hulls can carry one:
- The Skiff. Every pilot's first ship takes a small laser. If you already hold the permit when you take the dockmaster's Skiff on credit, it comes with one fitted.
- The Prospector's Tug. Belt-standard, sold at every yard for 2,200 credits. It has a long fuel tank, a hold sized for ore rather than freight, and room for a much bigger laser than a Skiff.
- The Pathfinder. A long-range hull that takes the biggest lasers of all, priced accordingly.
Lasers are fitted at a yard. You can buy a refit there, or fit a Mining Laser I or II module on the fitting board. Mining Laser II only fits a Tug or a Pathfinder.
One cost people forget: a ship carrying a laser pays twice the insurance premium. The belt is where ships die, and the insurers know it.
3. Read the field
Every system with a belt has one field, and every pilot there works the same rock. The screen tells you how rich it is: thin, workable, rich or exceptional.
Sol's belt is the place to learn, and the screen is honest about it: This belt has been worked for a century. Nothing here is rich. It's fair rock and poor rock, and you're safe while you learn. Further out the rock gets better and the space around it gets less friendly.
Each field has a handful of rocks. Before you've surveyed one, you can see its size, where it sits and how many units are left in it, but not what it is.
Surveying is free. Point the array at a rock and it tells you its kind and its grade: rich, fair or poor. The answer is fixed and the same every time you look, so there's no rerolling a rock into something better. Rich rocks tend to be smaller; poor ones are bigger and slower.
The kind decides what lands in your hold:
- Rubble gives Raw Ore.
- Ice gives Water Ice.
- Silicate gives Silicate Dust.
- Volatile gives Frozen Volatiles.
- Carbon gives Carbonaceous Rock.
- Regolith gives Regolith Fines.
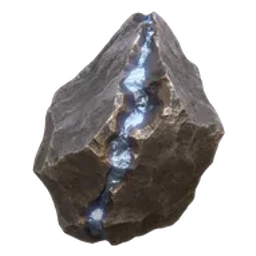
Below the surface lies the seam, where the valuable rock is: platinoid gravel and rare-earth sands. It needs a Deep-Core Certificate, and it only opens once the surface above it is nearly worked out. Seam work cuts faster but wears your hull, the way distance does.
4. Cut it
Open a rock and choose your laser power:
- Low: slower, and quieter, less likely to be found at the rock.
- Standard: what the rig is rated for.
- Overdrive: faster, and hard on the hull, louder too.
The dialog shows exactly what each choice gives you, in units, time and wear, before you spend anything.
Then the run starts, and ore lands as it's cut, a unit at a time, whether you're watching or not. Stop whenever you like and you keep what's already in the hold. The uncut rock goes back to the belt. While the laser runs you can't jump, trade or use a yard, so plan around it.
Before you start, you can also lay out your rig bay, a small puzzle that tunes the cut to the rock's temperament. It only ever helps. It's never worse than leaving it alone.
Mind the danger word. Every field says how watched it is. Patrolled means nobody comes looking. Watched means somebody might, and hunted means they know miners stop there. On a field that isn't patrolled, you learn whether anyone found you when the run ends, with the ore already in your hold. Low power is quieter, which is the trade it offers.
5. When the rock runs out
Because the rock is shared, it runs out. When a site is worked out it shuts, and it comes back whole a day later: not a little at a time, and not just for you. The screen shows when.
There's a reward for finishing the job: if the whole field is worked out at once, it comes back richer than it was. Be there when it opens.
6. Sell it, or make it denser
Raw goods sell at station markets, and some stations want them more than others. Each station's market marks what it makes, which sells cheaper there, and what it consumes, which sells dearer. Ore and the other mined goods fetch a premium where they're consumed. Sol is one of those places.
Prices move as you sell. Each unit is priced by the stock level it takes, so ten units aren't worth ten times the first. Spreading a big load across two stations often pays.
Smelting
Smelting is the top of the extraction ladder. It needs a Refinery Ticket, which needs the Deep-Core Certificate first and real Refining and Prospecting skill. Smelters are found only at the systems that make alloys, and Sol isn't one of them.
What a smelter does is worth understanding before you save for it: it makes your cargo denser, not more valuable. Three units of raw ore become one unit of structural alloys. The alloys are worth less than the ore that went in, but three times as much per unit of hold, which is what makes a long trip pay. The screen puts it plainly: everything a smelter makes is worth less than what it ate and takes less room; that is what it is for.
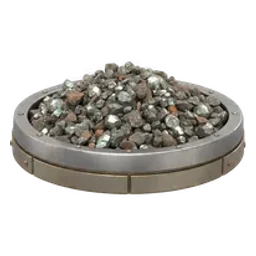
A smelter also turns seam rock and other raw goods into materials such as platinum sponge, neodymium ingots and industrial diamond. Stations don't buy those. You build with them at a workshop, or sell them to other pilots.
Each batch can run on a furnace program you plan yourself. A good program finishes the batch sooner and a careless one later; either way, the amount of metal is the same.
The pilots' board
Anything in your hold can go on the pilots' board, the player market, at a price you set. A listing stands for seven days and costs 1% of what you ask. It's where most made and refined goods change hands, because a pilot rather than a station is their buyer.
7. The skills that matter
- Prospecting: +3% yield per level, and the key to every licence on the ladder.
- Refining: faster batches at the smelter, 6% per level.
- Haulage: more hold per run.
They all train on a real-world clock, one at a time, and they keep training while you're away. Start one before you log off.
Where it goes next
The extraction career branches once you're established. A Containment Licence lets you skim gas giants out on the rim, a different job with its own rig. The Shelf Drilling Licence opens the ice shelf's deep brine. Both are worth a look once the belt feels like home.
New to Starlane? Start with your first evening. And when you chart a belt nobody has worked before, you'll want a page to show it on.
Create a pilot. It's free, and Sol's belt is waiting.
Starlane is a persistent space game you play in a browser — free, no download. Start flying →