Every job is a puzzle: the work plans of Starlane
· The Starlane team · 8 min read
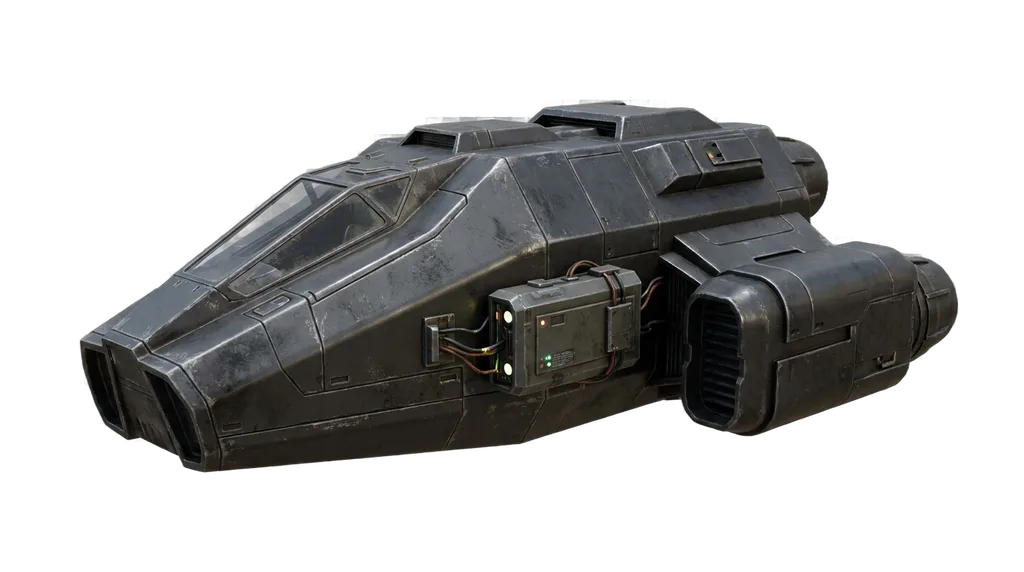
In Starlane, every job takes real time, and it keeps going while you're away. But before you press the button, there's a plan to make, and the plan is the part worth playing.
Every job in the game has one. Each is small, each is drawn from what the job really is, and each has a best answer the game has worked out exactly. Get close to it and the job goes better: a shift runs shorter, a fight costs fewer hits, a batch comes off the line sooner. Nothing you can buy does that for you.
Here they are.
1. The cargo shift: a stow plan
A dock shift loads a named freighter for a voyage of three calls. Four bays, two each side. You put each crate somewhere, and the rules are the ones a stowage planner works to:
- Discharge order. A crate for a later port sitting on an earlier port's crate has to be lifted out and put back at the first call. That's a restow, and it costs time.
- Fragile crates take nothing on top.
- Weight. Nothing heavy goes on something lighter.
- Trim. Every crate tips the ship by its weight times its distance from the centreline, so an outer bay counts three times an inner one. She can only heel so far when she sails, and after each call too, because taking one port's cargo off can tip what's left, and a lighter ship heels further. Past that, you're pumping ballast.
- Cold cargo goes only in the bay with refrigeration power.
- Hazardous goods. A flammable crate and an oxidiser never ride on the same side.
Your first shift uses the first two. Each of your next four cargo shifts adds one more, until you're working all six. The game announces each new rule once, on the shift that brings it.
2. The fight: a firing solution
When something on the lane won't let you pass, the hostile is drawn as a ship, with its systems where they'd sit on a hull: a main battery, a point turret, fire control, engines, and on some ships a shield generator. Each has armour, shown as pips.
Every round you put one volley into one system. Knock out fire control and its guns fire blind: their aim widens, and most of what they fire goes wide. Disable the engines and the exchange ends at once, but they carry the heaviest armour. A shield screens the main battery until you take it down, and it recharges if you leave it alone. The order you choose decides how many hits you take before it's over.
3. The jump: a burn plan
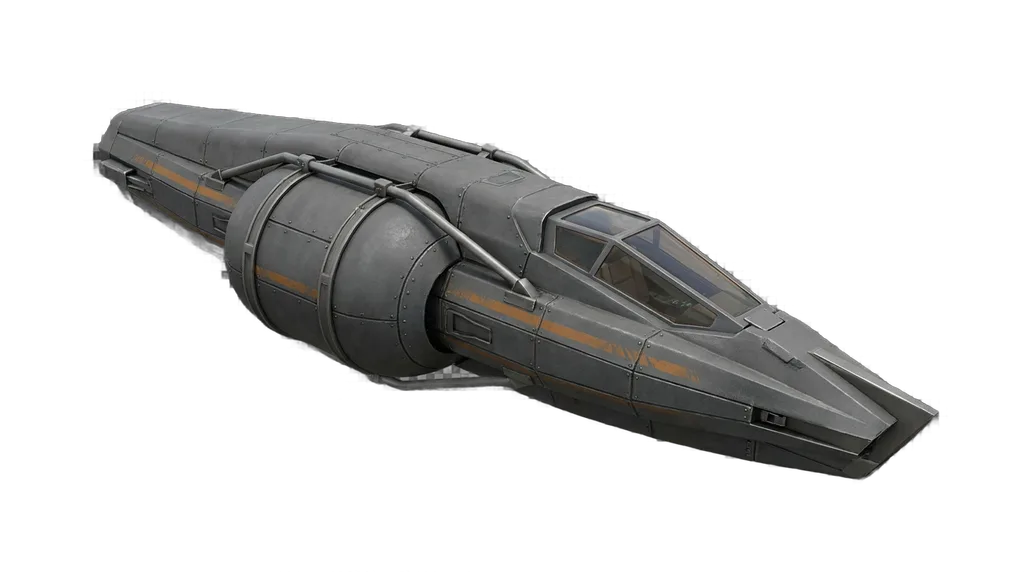
The jump is plotted along the real lane between two stars, measured in light-years. A dust cloud crosses it, dragging at the ship, with clear channels through it. Every lane has a rogue planet drifting in it, a world with no star, and nothing can cross it. Falling through its gravity well costs nothing and gives nothing back, until you've flown enough jumps to slingshot round it: pass behind it as it drifts and it lends you speed, pass in front and it takes some away. Each end glows in its star's colour by spectral class, and a lane into the dark has no colour at the far end at all.
The longer you fly, the more the lane can hold. Your first jumps are simple ones.
4. Salvage: the breaker's plan
A wreck is laid out stern to bow over the hull's own picture. Its fittings sit where a ship carries them: avionics toward the bow, power cells aft, plating off the frames. A live conduit is a cable with an arc on it, and a fuel tank is a tank. You plan the route the cutter takes. The cutter's time is the steel's: a frame takes two and a half times as long to burn through as the skin and the keel four times, and a fuel tank has to be vented before you cut it, which takes minutes. Each of your first wrecks adds one more real shipbreaking rule, announced once, on the wreck that brings it.
5. Mining: a rig bay
Between the mining laser and the rock sits a frame of nine slots, and each cut you're dealt five parts to place in it, from a focusing lens, a coolant coil, a capacitor, a sonic tap, a beam splitter and a damper shim. Each part does more or less on this rock, and more or less beside its neighbours: a coil cools what touches it, and a tap shakes the optics next to it unless a damper sits between. Lay them well and the laser cuts the same rock sooner.
6. The smelter: a furnace program
Every process runs on its own machine, through its own stages:
- Metals go through the furnace: dry, roast, reduce, tap.
- Steel goes through the converter: melt, decarburise, temper.
- Ceramics go through the kiln: dry, calcine, sinter, anneal.
- Gases go through the cryostat: pre-cool, condense, distil, warm off.
- Polymers go through the reactor, and water and cultures through the autoclave.
You program the temperature through each stage, in that machine's own scale. The heat lags behind what you ask for, which is the whole puzzle. The obvious program, which goes to each stage's window and holds there, gets the job done. It's never the best one.
7. The gas giant: a skim
A ship can't land on a gas giant, so it skims. It holds an orbit whose low point grazes the atmosphere, and each orbit you choose how deep to dip the scoop: haze, ammonia ice, sulphide, water cloud, the deep air. Deeper is denser, so you take more. It's also hotter, so the shield takes more, and draggier, so the orbit drops. A lower orbit sheds less heat on the way round. You trade gas against heat, one orbit at a time.
8. The workshop: a shop schedule
A batch is a work order: three or four parts, each taken through its operations in its own order, then fitted and cured. The workshop has five machines. The lathe and the curing oven run on their own once loaded. The press, the soldering station and the assembly jig need your hands.
You choose the order the work goes out in, and the bench schedules each step at the first moment it can start. The craft is a shop floor's: load the long unattended work early, do the hand work while it turns, and never let the part everything waits for queue behind one that nothing waits for.
9. Research: an experiment
Research is finding out what works, so this one is deduction. Every field of enquiry has three factors: an agent, such as a dopant, a binder or a flux, and two conditions, such as a temperature, a pressure or a time. Somewhere among their settings is the combination that works.
Each trial names a setting for every factor, and the bench reads back a yield, the way a reaction would give it. Every condition has an optimum: too little and the reaction hasn't finished, too much and the product has started to break down, and the two read differently, so comparing trials tells you which side you're on. The agent is a catalyst, best at the right strength and weaker either side. This is the one plan where the answer is a secret, held on the server and never sent to your screen. You can't look it up. You work it out.
10. The patrol: a search pattern
A patrol sweeps the space around a station, looking for trouble. Before you launch, you lay the search pattern across a chart of that space: out of the station one patch at a time, never over the same patch twice, and home before the tank runs dry.
Each patch is shaded by how likely raiders are to be there. They hide in dust and debris, where a sensor struggles, and they sit just off the shipping lane rather than on it. A pass sees most of what's in the patch it flies through and some of what's beside it, so the craft is a real search planner's: space your tracks so their sensor sweeps just meet, and spend your legs where the chance is. As you lay the pattern, the chart cools where you've looked.
A good pattern brings you home sooner. It never finds you more, or less: what's out there was decided the moment you launched, by the space and not by the plan.
11. The raid: an approach
The patrol's puzzle, from the other side. A raider lies dark below a shipping lane and has to reach the lane at the moment the traffic gets there. On the way, a lane beacon, the traffic's escort and the traffic itself are all looking, and as you fly more raids, a picket ship joins them. Sensors see far less at range, and dust and debris hide a hull from them.
You plot the approach one patch a step, or hold where you are, and the chart shows where you'd be seen on your next move. The escort sweeps the lane ahead of the traffic, so arriving early and waiting is usually a mistake. The quiet route is the one that times the dust.
A clean approach brings you home sooner. It never takes you more, and a poor one never keeps you out longer: what's out there was decided the moment you rode out.
Why build a game this way
Because a plan you find is a better reward than a number you buy. Almost every board is checked before the game uses it, and thrown away if the obvious approach would reach the best answer. So planning pays. The best answer is worked out exactly, not guessed, so the screen can tell you honestly how close you came.
It's also why skill in Starlane means something. Two pilots with the same ship and the same licences can have very different evenings, and the difference is in how they planned. As we wrote about no pay-to-win, the things that decide outcomes can't be bought. The plans are the most visible case.
New here? Start with your first evening. The first shift on the dock is your first job, and its stow plan your first work plan.
Create a pilot. It's free, and there's nothing to download.
Starlane is a persistent space game you play in a browser — free, no download. Start flying →